Workspaces
A workspace holds one business, brand, or office. Set its name and logo, add more workspaces when you need separate data, and switch between them from the sidebar.
Everything in Kontakt lives in a workspace: people, conversations, channels, AI agents, knowledge, campaigns, API keys, and billing. Your first workspace is created when you sign up. You can add more workspaces in your firm, for example one per brand, country, or office, and each one keeps its own data, team, and settings.
Before you start
- Changing a workspace's name, logo, colours, or settings needs Update under Settings.
- Creating, renaming, archiving, and restoring workspaces needs the same permission. The Owner role has it.
Rename your workspace and add a logo
Workspace details live under Settings / General, on the General Settings page.
Edit workspace information
On the Workspace Information card, click Edit. In Edit Workspace Information, change the Workspace name, and optionally add a Description, an Industry, and a Company size. Click Save Changes.
Upload a logo
On the Workspace Logo card, click Upload Logo and choose a PNG, JPEG, SVG, or WebP file up to 2 MB. A square image of at least 500 × 500 pixels on a transparent background works best. Kontakt resizes images other than SVG to fit within 512 pixels.
The logo shows in the sidebar and in the workspace switcher, and is used in email headers and footers and in reports and exports. Use Change Logo to replace it or Remove Logo to delete it.
Set brand colours (optional)
On the Brand Colors card, pick a Primary colour (buttons, active states, and sidebar highlights), a Secondary colour (charts and links), and an Accent colour (hover states). Check the Preview, then click Save Colors. Reset to Defaults goes back to Kontakt's colours.
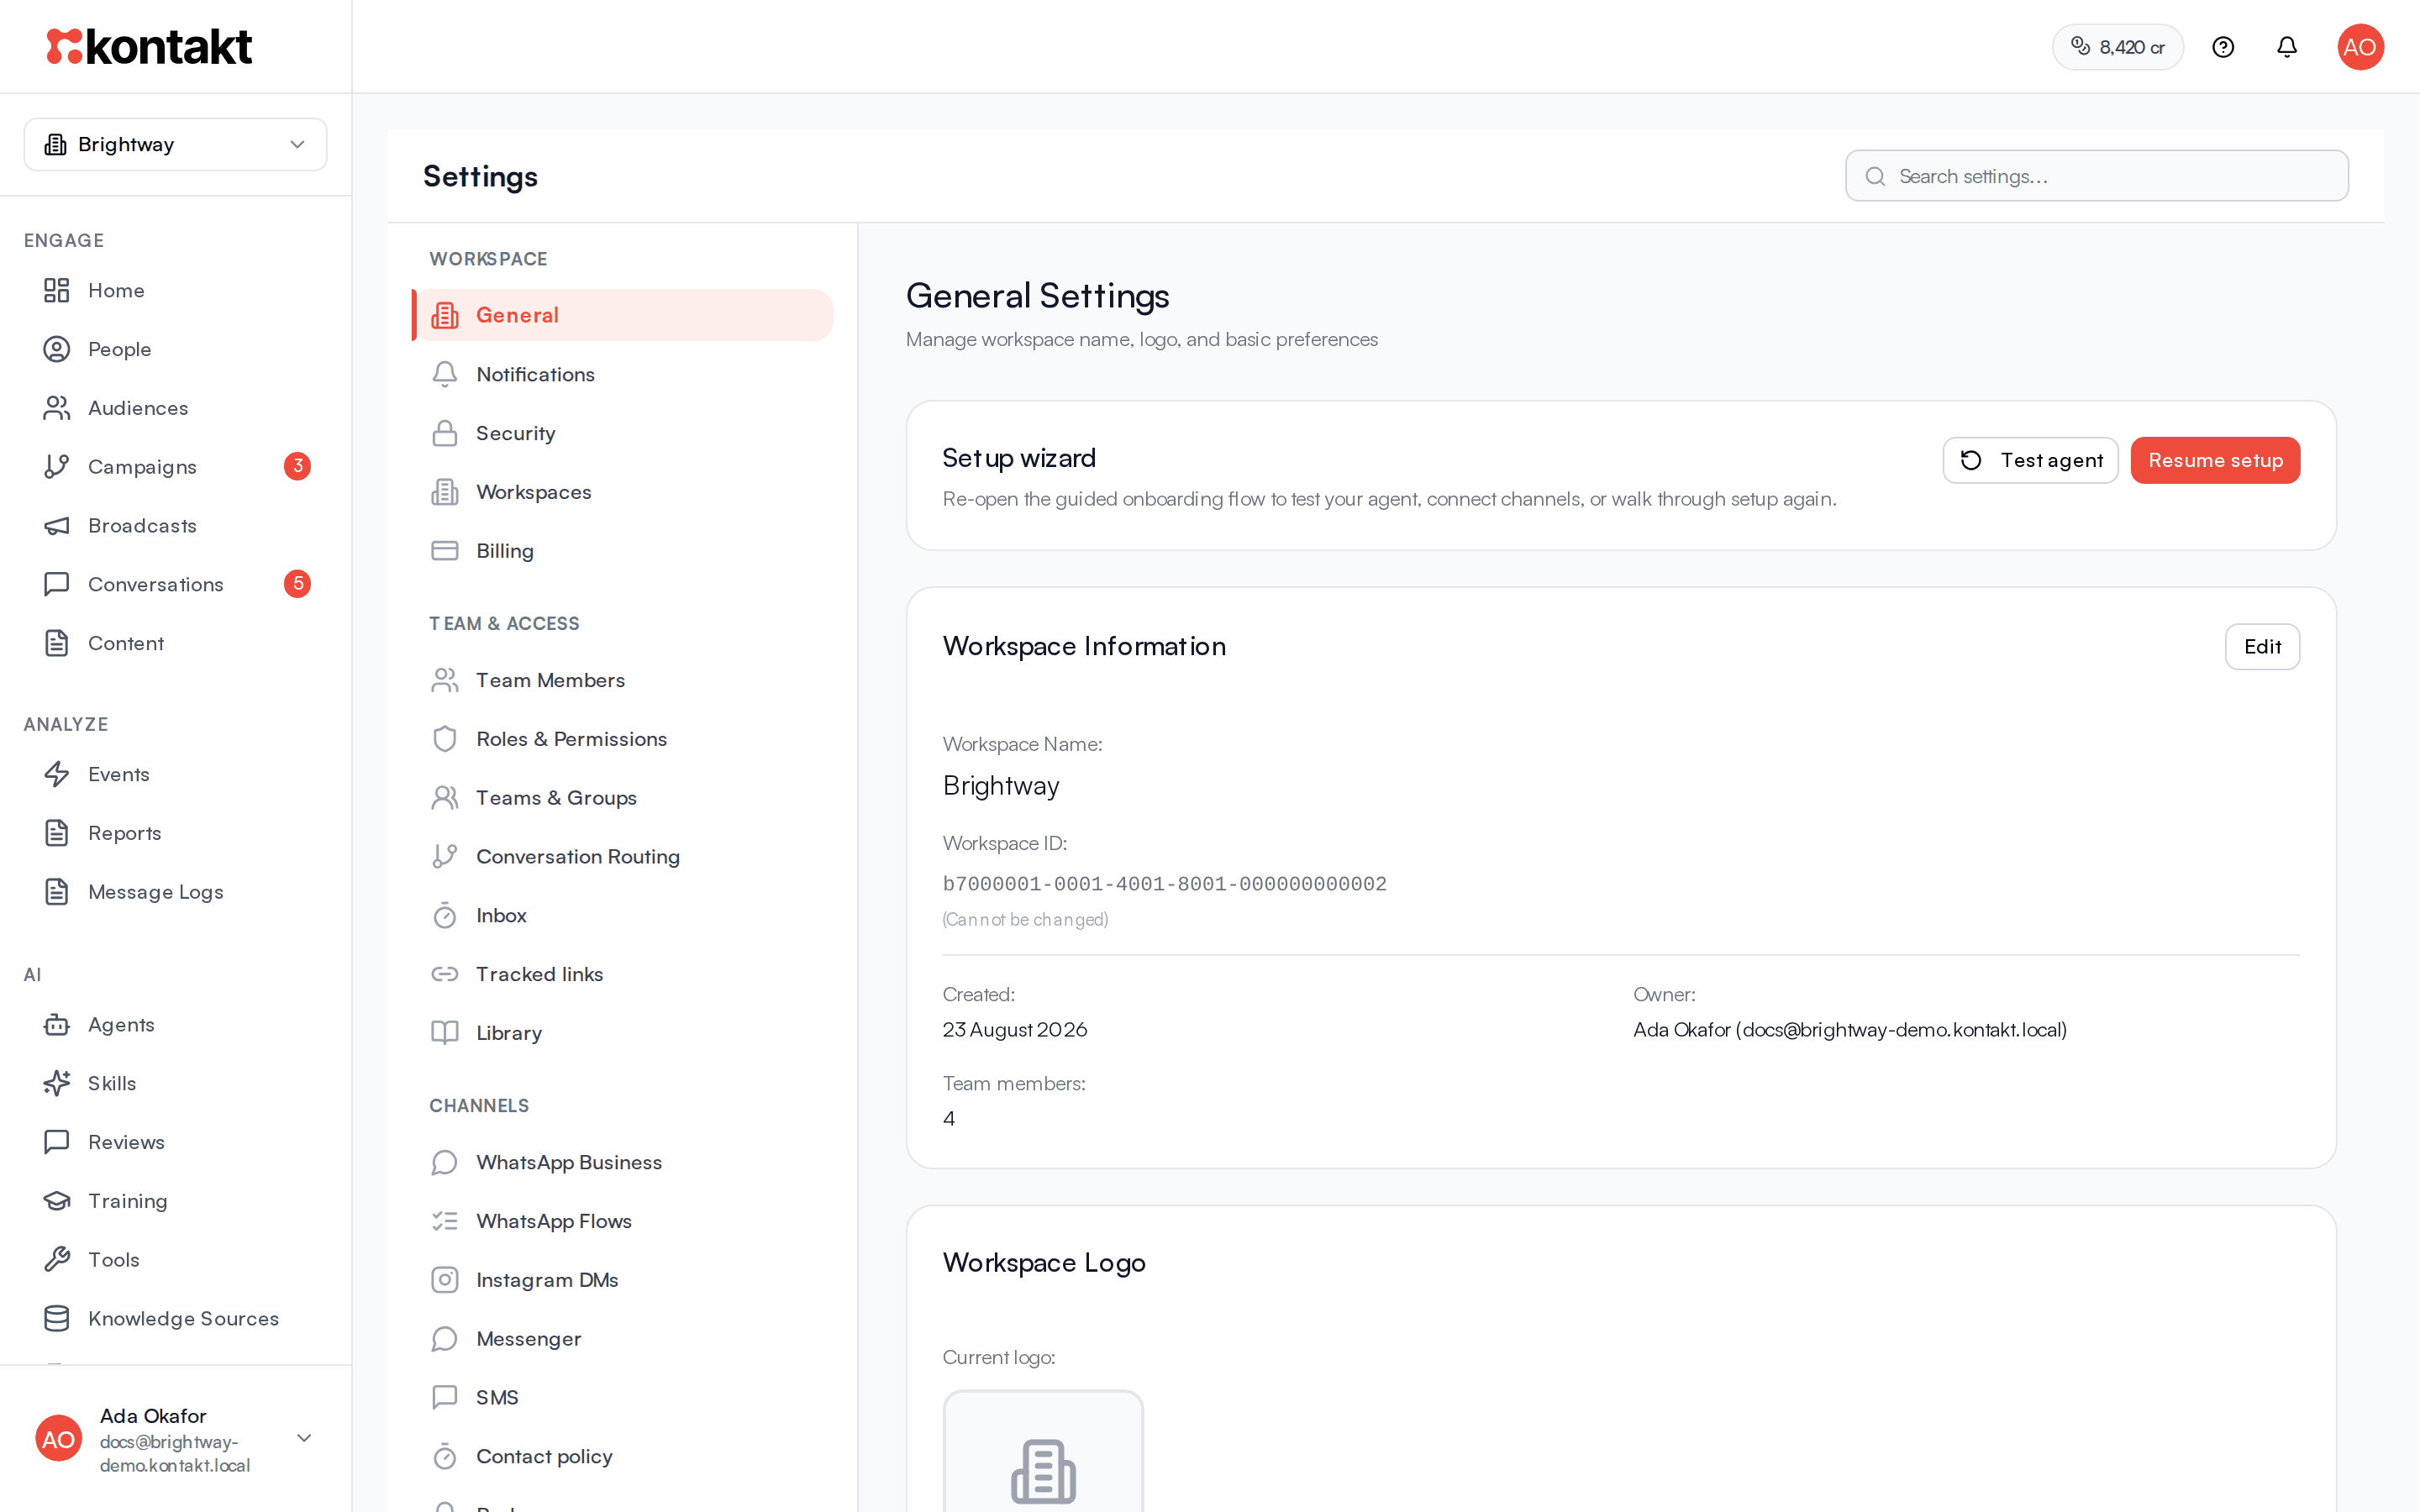
The Workspace Information card also shows the Workspace ID, which can't be changed. Include it when you contact support.
Brand colours change the app for everyone in this workspace.
Reopen the setup wizard
The Setup wizard card on the same page reopens the onboarding wizard. Test agent opens it at the test chat, and Resume setup opens it at the go-live step, where you connect channels. See Quickstart.
Switch workspaces
Click the workspace name at the top of the sidebar. The list shows every workspace you belong to, with a check next to the one you're in. Click another to switch. Kontakt shows Updating session… for a moment and then opens that workspace.
If you belong to workspaces in more than one firm, for example your own company and a client's, each one shows its firm name. You can switch between all of them from the same list.
Each browser tab stays in its own workspace, so you can keep two workspaces open side by side. A new tab opens signed in to the workspace of the tab you used last, including links you open in a new tab and links you paste. If you have no other Kontakt tab open, sign in again.
You only see workspaces you're a member of. Being a member of one workspace doesn't give you access to the others in your firm.
Create a workspace
Start a new workspace
Click the workspace name at the top of the sidebar and choose Create Workspace. You can also go to Settings / Workspaces and click New Workspace.
Name it
Enter a Workspace name, for example "Lagos Office". Optionally set a Timezone (optional), such as Africa/Lagos. If you leave it blank, the workspace uses UTC.
Create
Click Create. When you create it from the sidebar, Kontakt switches you into the new workspace. When you create it from Workspaces, it's added to the list and you switch to it from the sidebar when you're ready.
New workspaces start empty. Nothing is copied from your current workspace: no people, conversations, channels, agents, knowledge, or settings. You become its Owner, and it opens the setup wizard the first time you go in.
Each workspace is billed on its own
Every workspace has its own plan and its own credit balance. Credits in one workspace can't be used in another. See Billing.
Manage workspaces
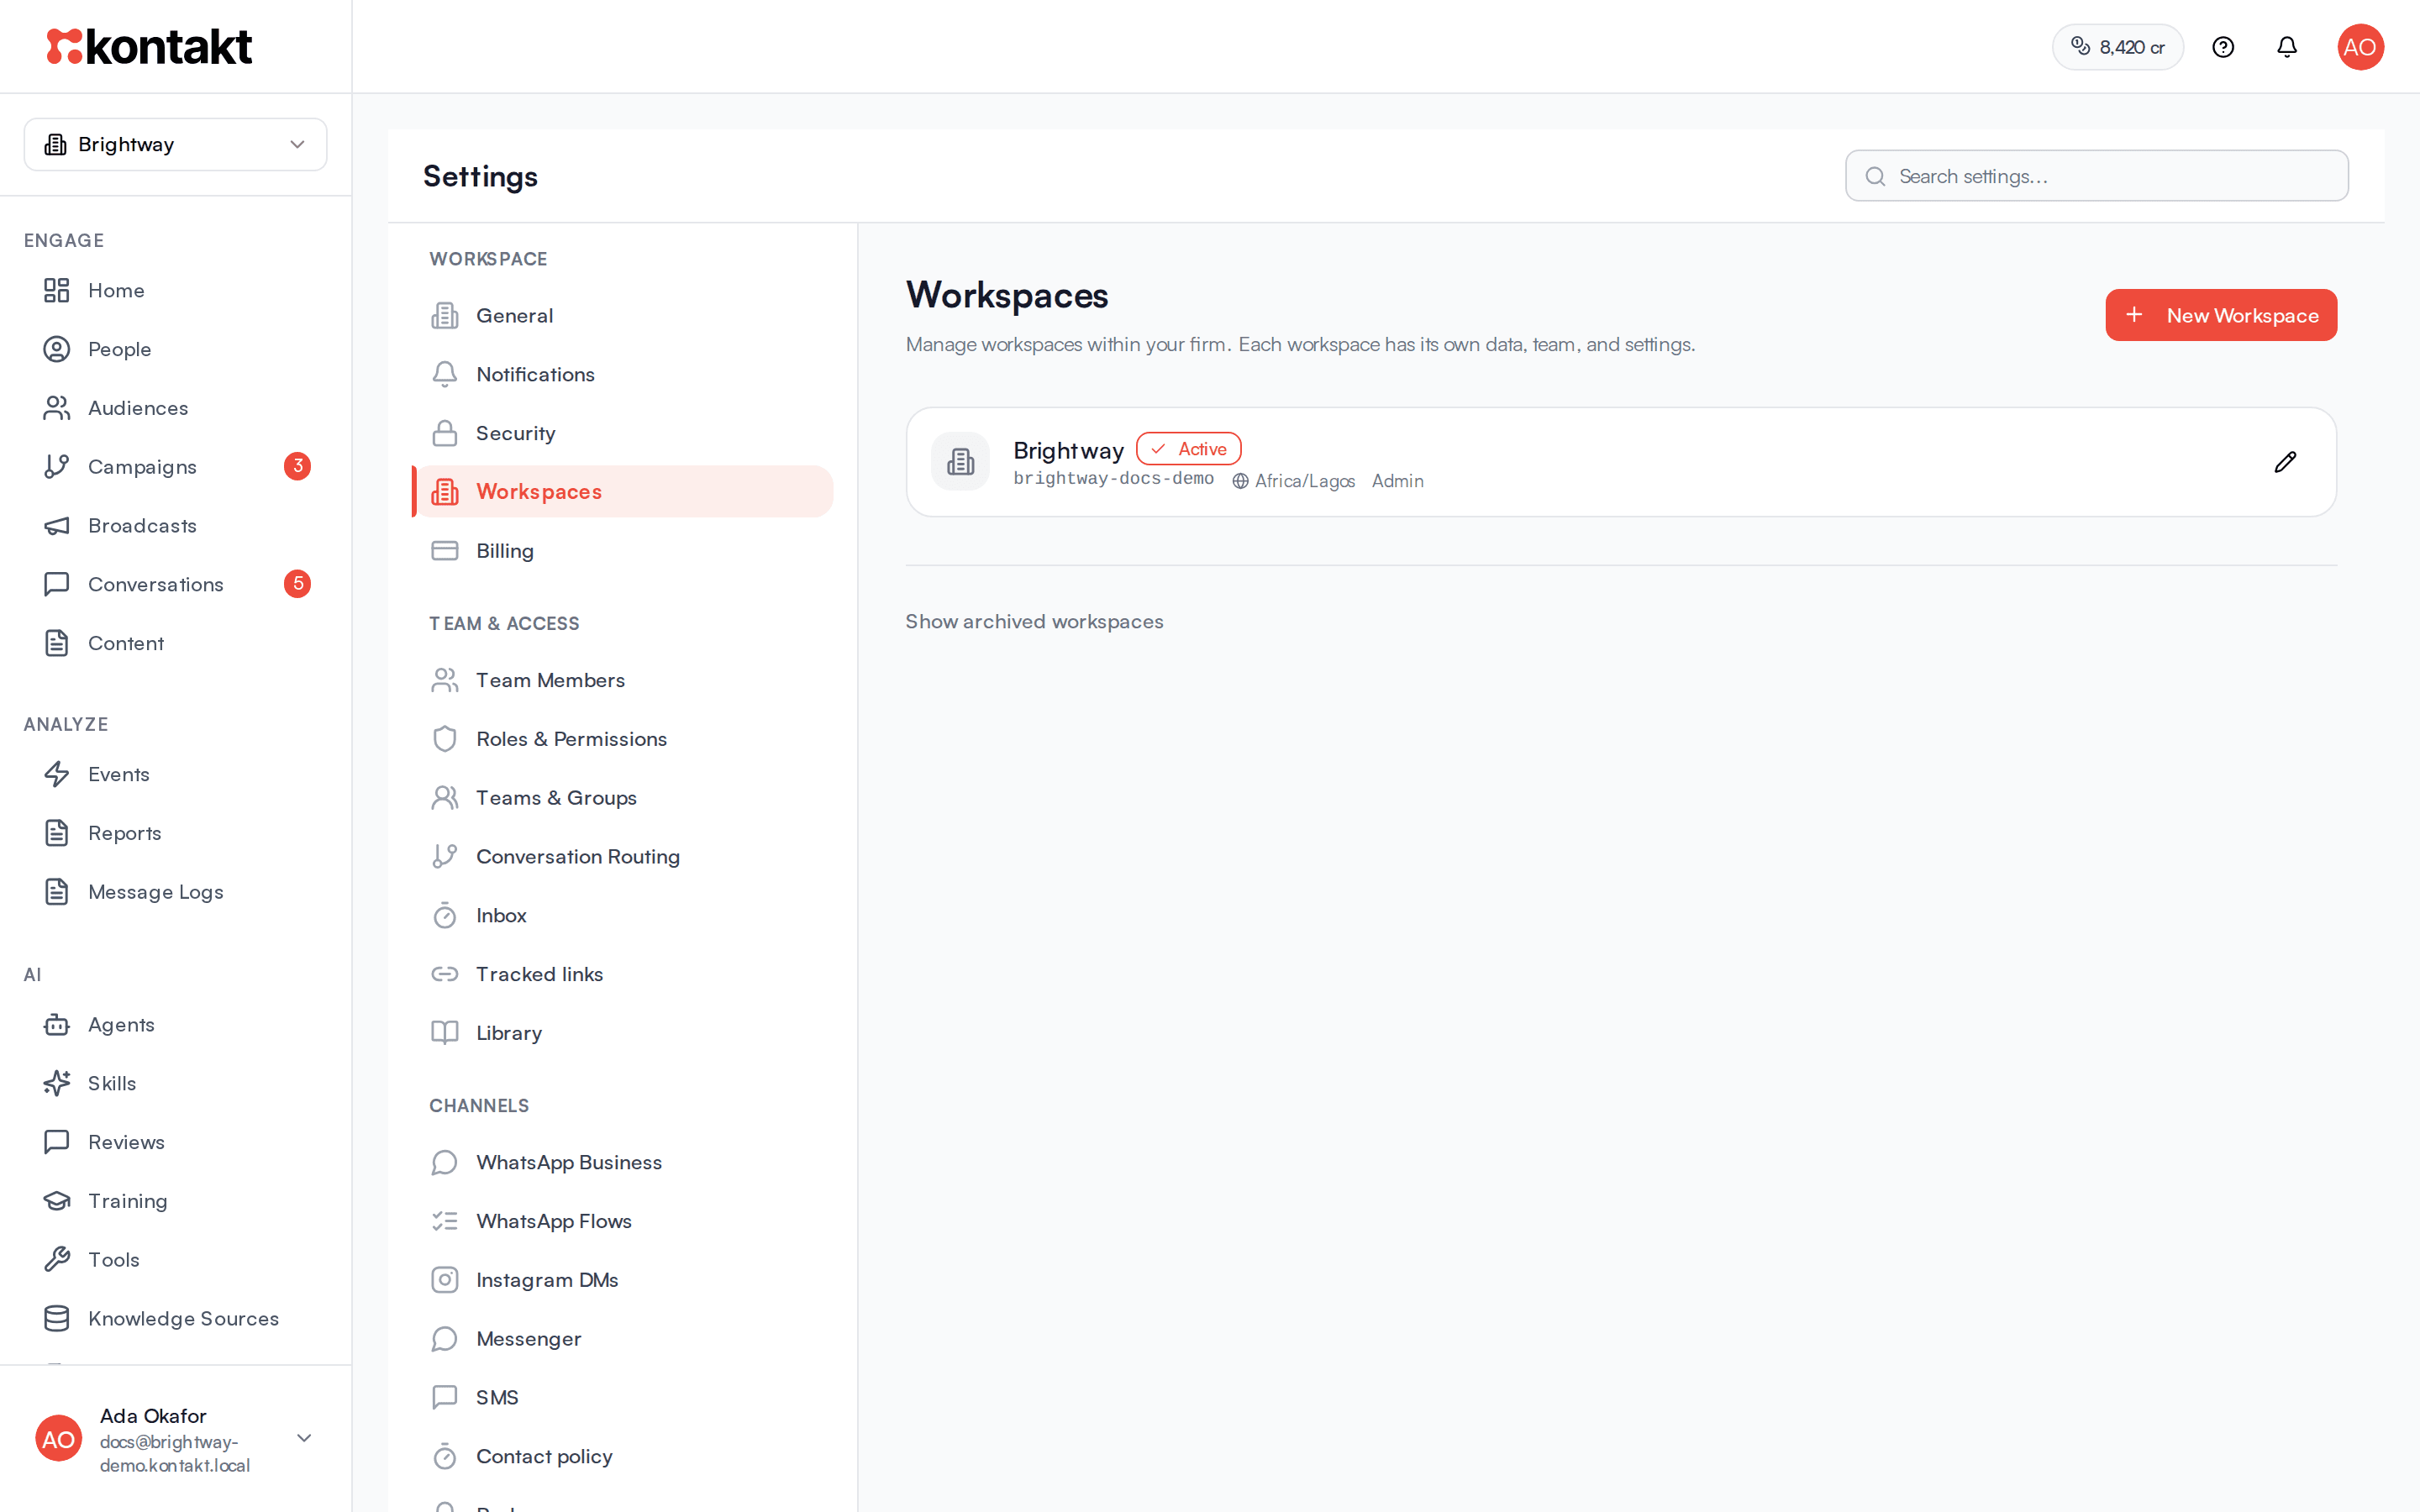
Settings / Workspaces lists the workspaces you belong to in your current firm, with each one's slug, timezone, and your role. The one you're in has an Active badge.
Rename or change the timezone
Click the pencil icon on a workspace. In Edit Workspace, change the Workspace name or Timezone and click Save.
Set the country for phone numbers
In Edit Workspace, choose a Country for local phone numbers, such as Nigeria (+234), and click Save. Numbers that arrive without a country code, such as 0803 123 4567 from an import, the API, or a connected store, are saved with that code so they match the number the person messages you from on WhatsApp. A store customer whose address has a country gets that country's code instead. Use the timezone picks the country from the workspace timezone, so Africa/Lagos means Nigeria. You can also set it when you create a workspace.
Archive a workspace
Click the archive icon on a workspace and confirm. Archiving:
- Stops everyone from opening that workspace.
- Revokes all of its API keys.
- Turns off its web widget.
Your data stays in place. You can't archive the workspace you're currently in, or your last active workspace in the firm.
Restore a workspace
Click Show archived workspaces, then Restore next to the workspace. Members can open it again. API keys stay revoked and the web widget stays off, so create new keys and turn the widget back on yourself. See API keys and Web chat.
Troubleshooting
I can't see the archive icon
You can't archive the workspace you're in. Switch to another workspace first.
A teammate can't see the new workspace
Workspaces don't share members. Switch into the new workspace and invite them there.